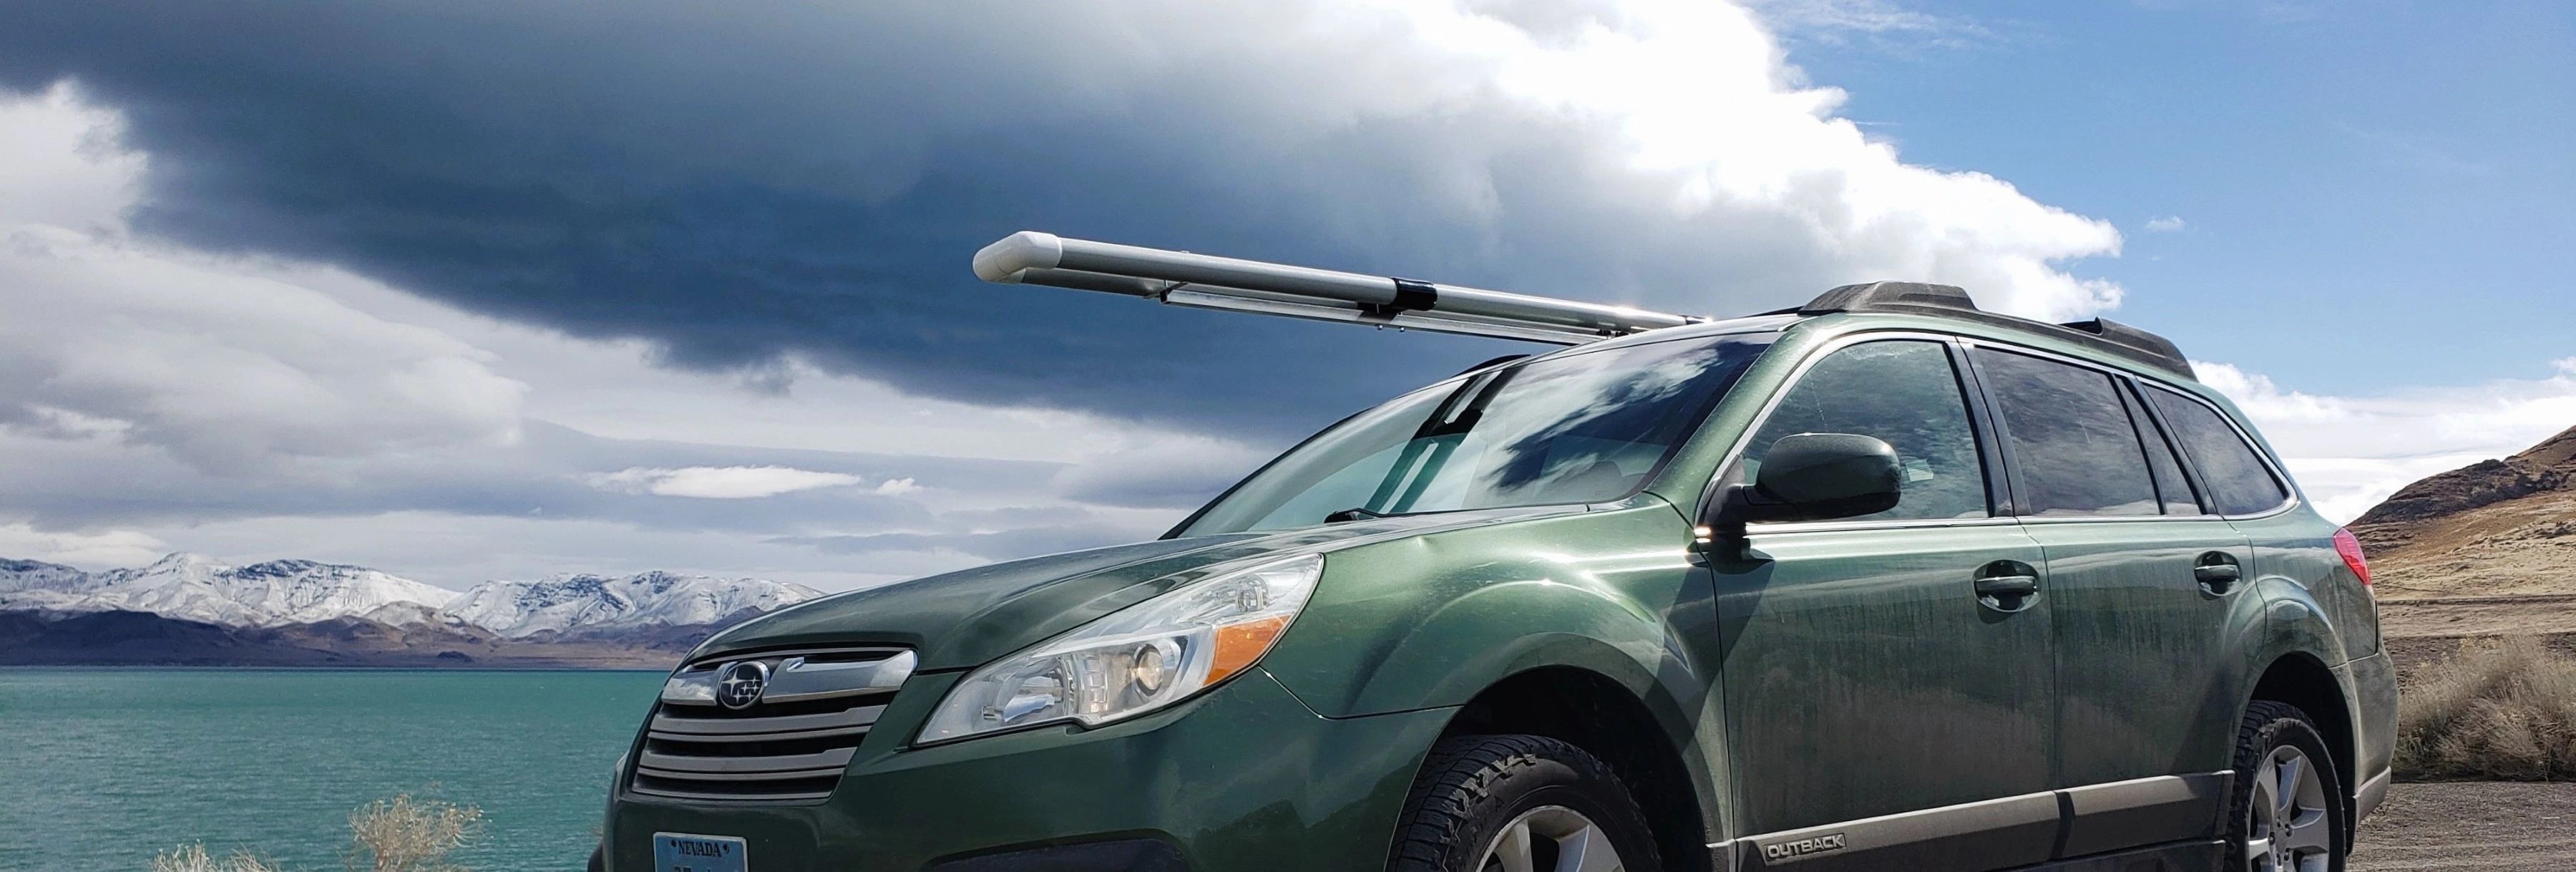
DIY Fly Rod Carrier
You can buy one of the designer fly rod carriers available today and spend $600+, or you can build your own and save a ton. I went with the second option.
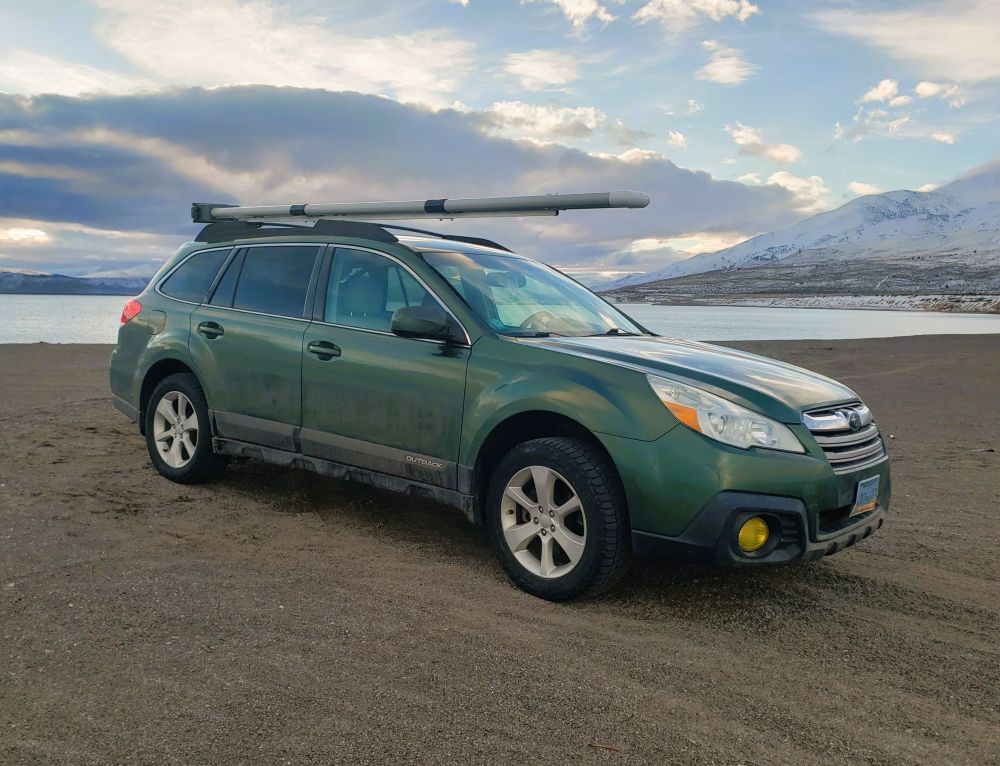
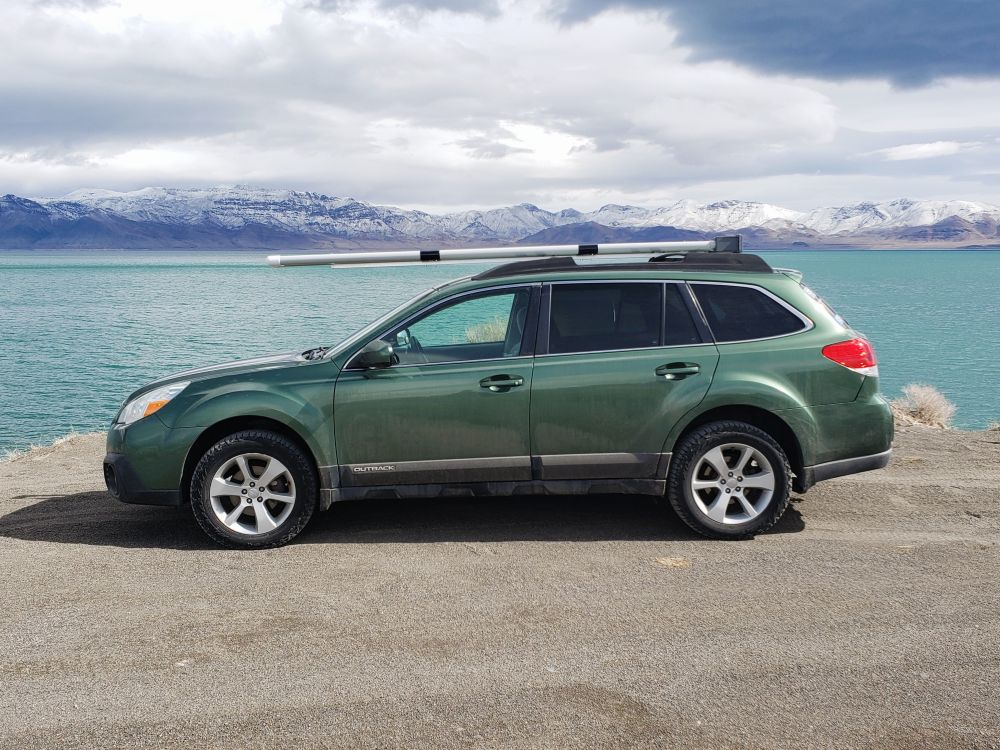
This rod carrier features aluminum and PVC construction. It fits 2 rods up to 10 feet long, fully assembled and rigged, and weighs about 20 lbs. Cost for all the parts as built, in January 2026, would be about $250. Going with schedule 40 PVC could drop the cost to $150 or less.
Disclaimer:
The following is a list of the parts I used for my DIY fly rod carrier and the methods I used to build it. This worked for me, but things may be different for you. This is not intended to be explicit instruction for how to go about this build, but instead an example to draw your own inspiration from. More info
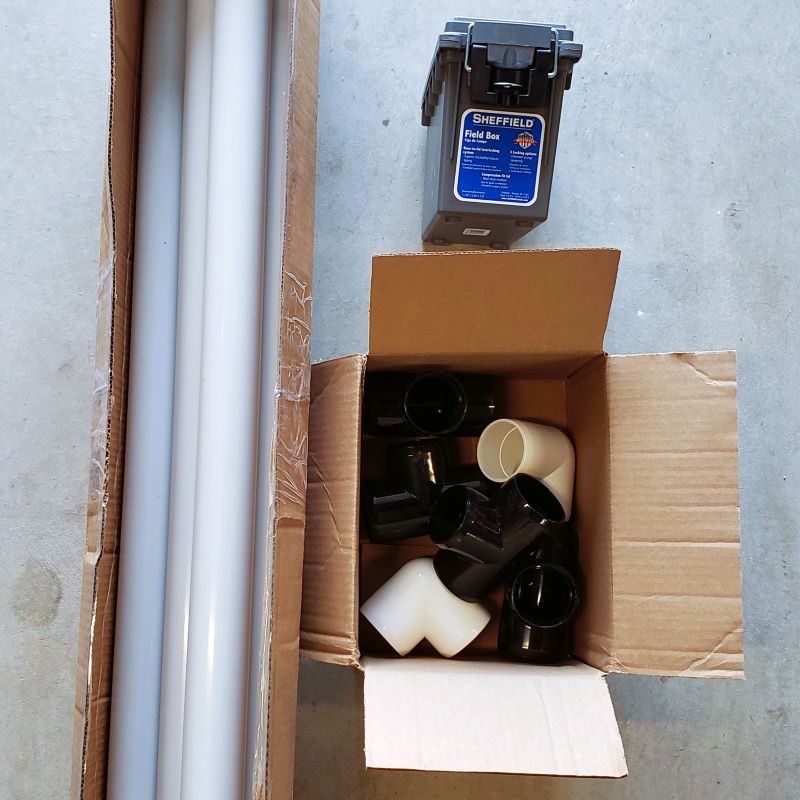
Parts I Used:
- (6) 2’’ I.D. x 40’’ sections of Formufit PVC Pipe
- (4) 2’’ Formufit PVC T-fittings
- (2) 2’’ Formufit PVC elbow fittings
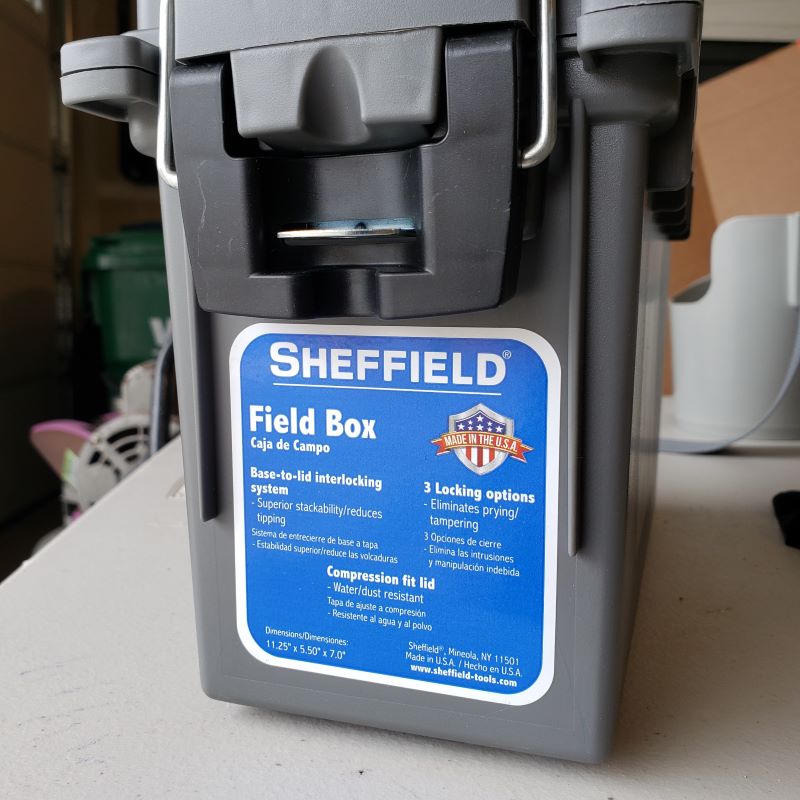
- (1) Sheffield Field Box – This box has a metal latch with a metal locking eye for a padlock. I chose this to be more secure when locked than other ammo box options.
- (2) 1’’ I.D x 6ft foam pipe insulation with ½’’ wall thickness (pre-split)
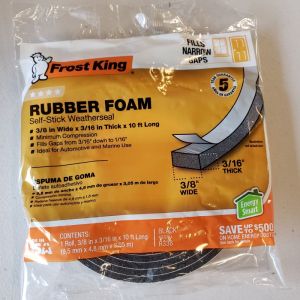
- Foam weather stripping tape – 3/16” x 3/8” worked well.
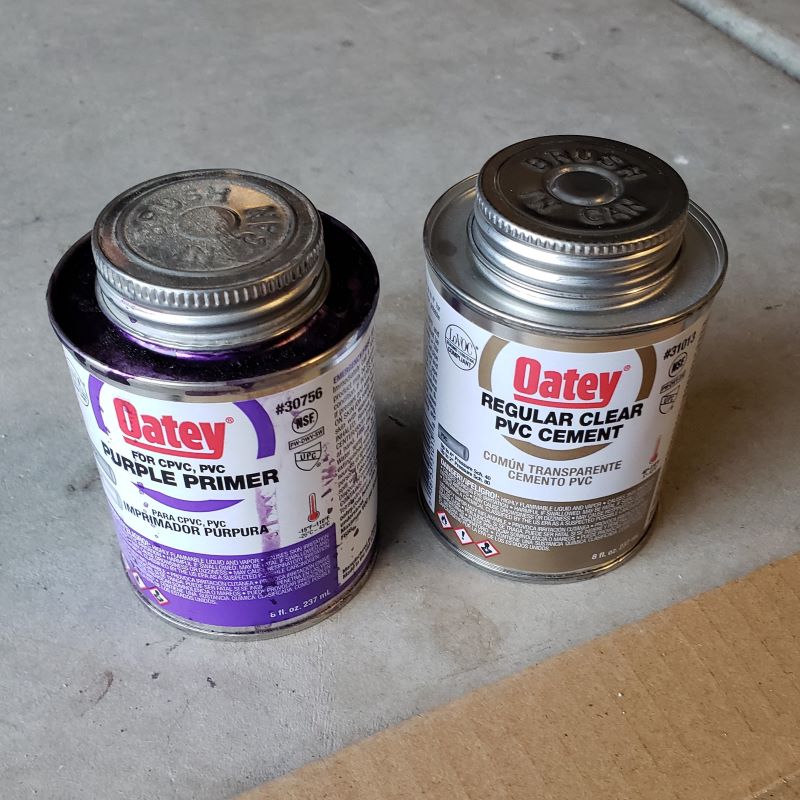
- PVC cement
- (1) 8ft x 1’’ aluminum square tube (1/20’’ or thicker wall)
- (2) 2-3/4” x 5-3/16” x 5/16” U bolts, with bars and nuts.
- (2) 1/4” stainless steel U bolts with washers and lock nuts for vehicle mounting (Size varies based on the specific vehicle)
The Build
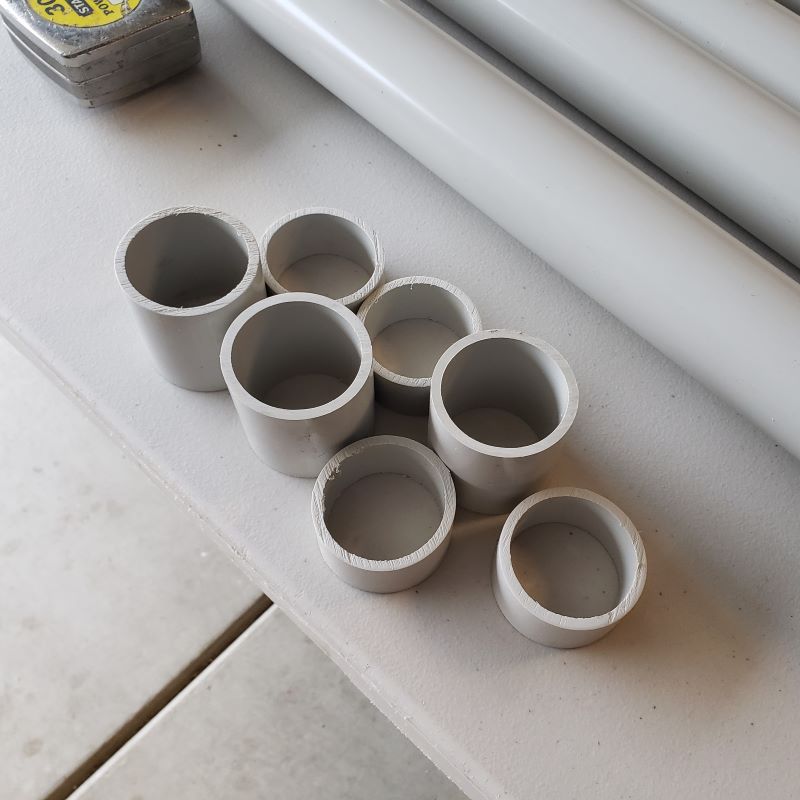
Step 1: I got my parts ready
- I stared by taking two of the pipe sections and marking the ends to make three 3’’ sections of pipe and four 1.5’’ sections. This meant I would cut a total of 7.5’’ from each of these two sections.
- I cut these rings off, then sanded the edges and set them aside.

Step 2: I dry-fitted the parts
- I took note to put the shorter sections of pipe at the back end of the carrier, connected to the ammo box. Then I dry-fitted all of the pipe parts together to ensure good fit and visualize the final assembly.

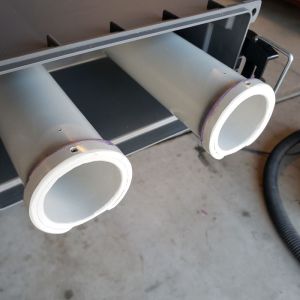
Step 3: I installed the foam
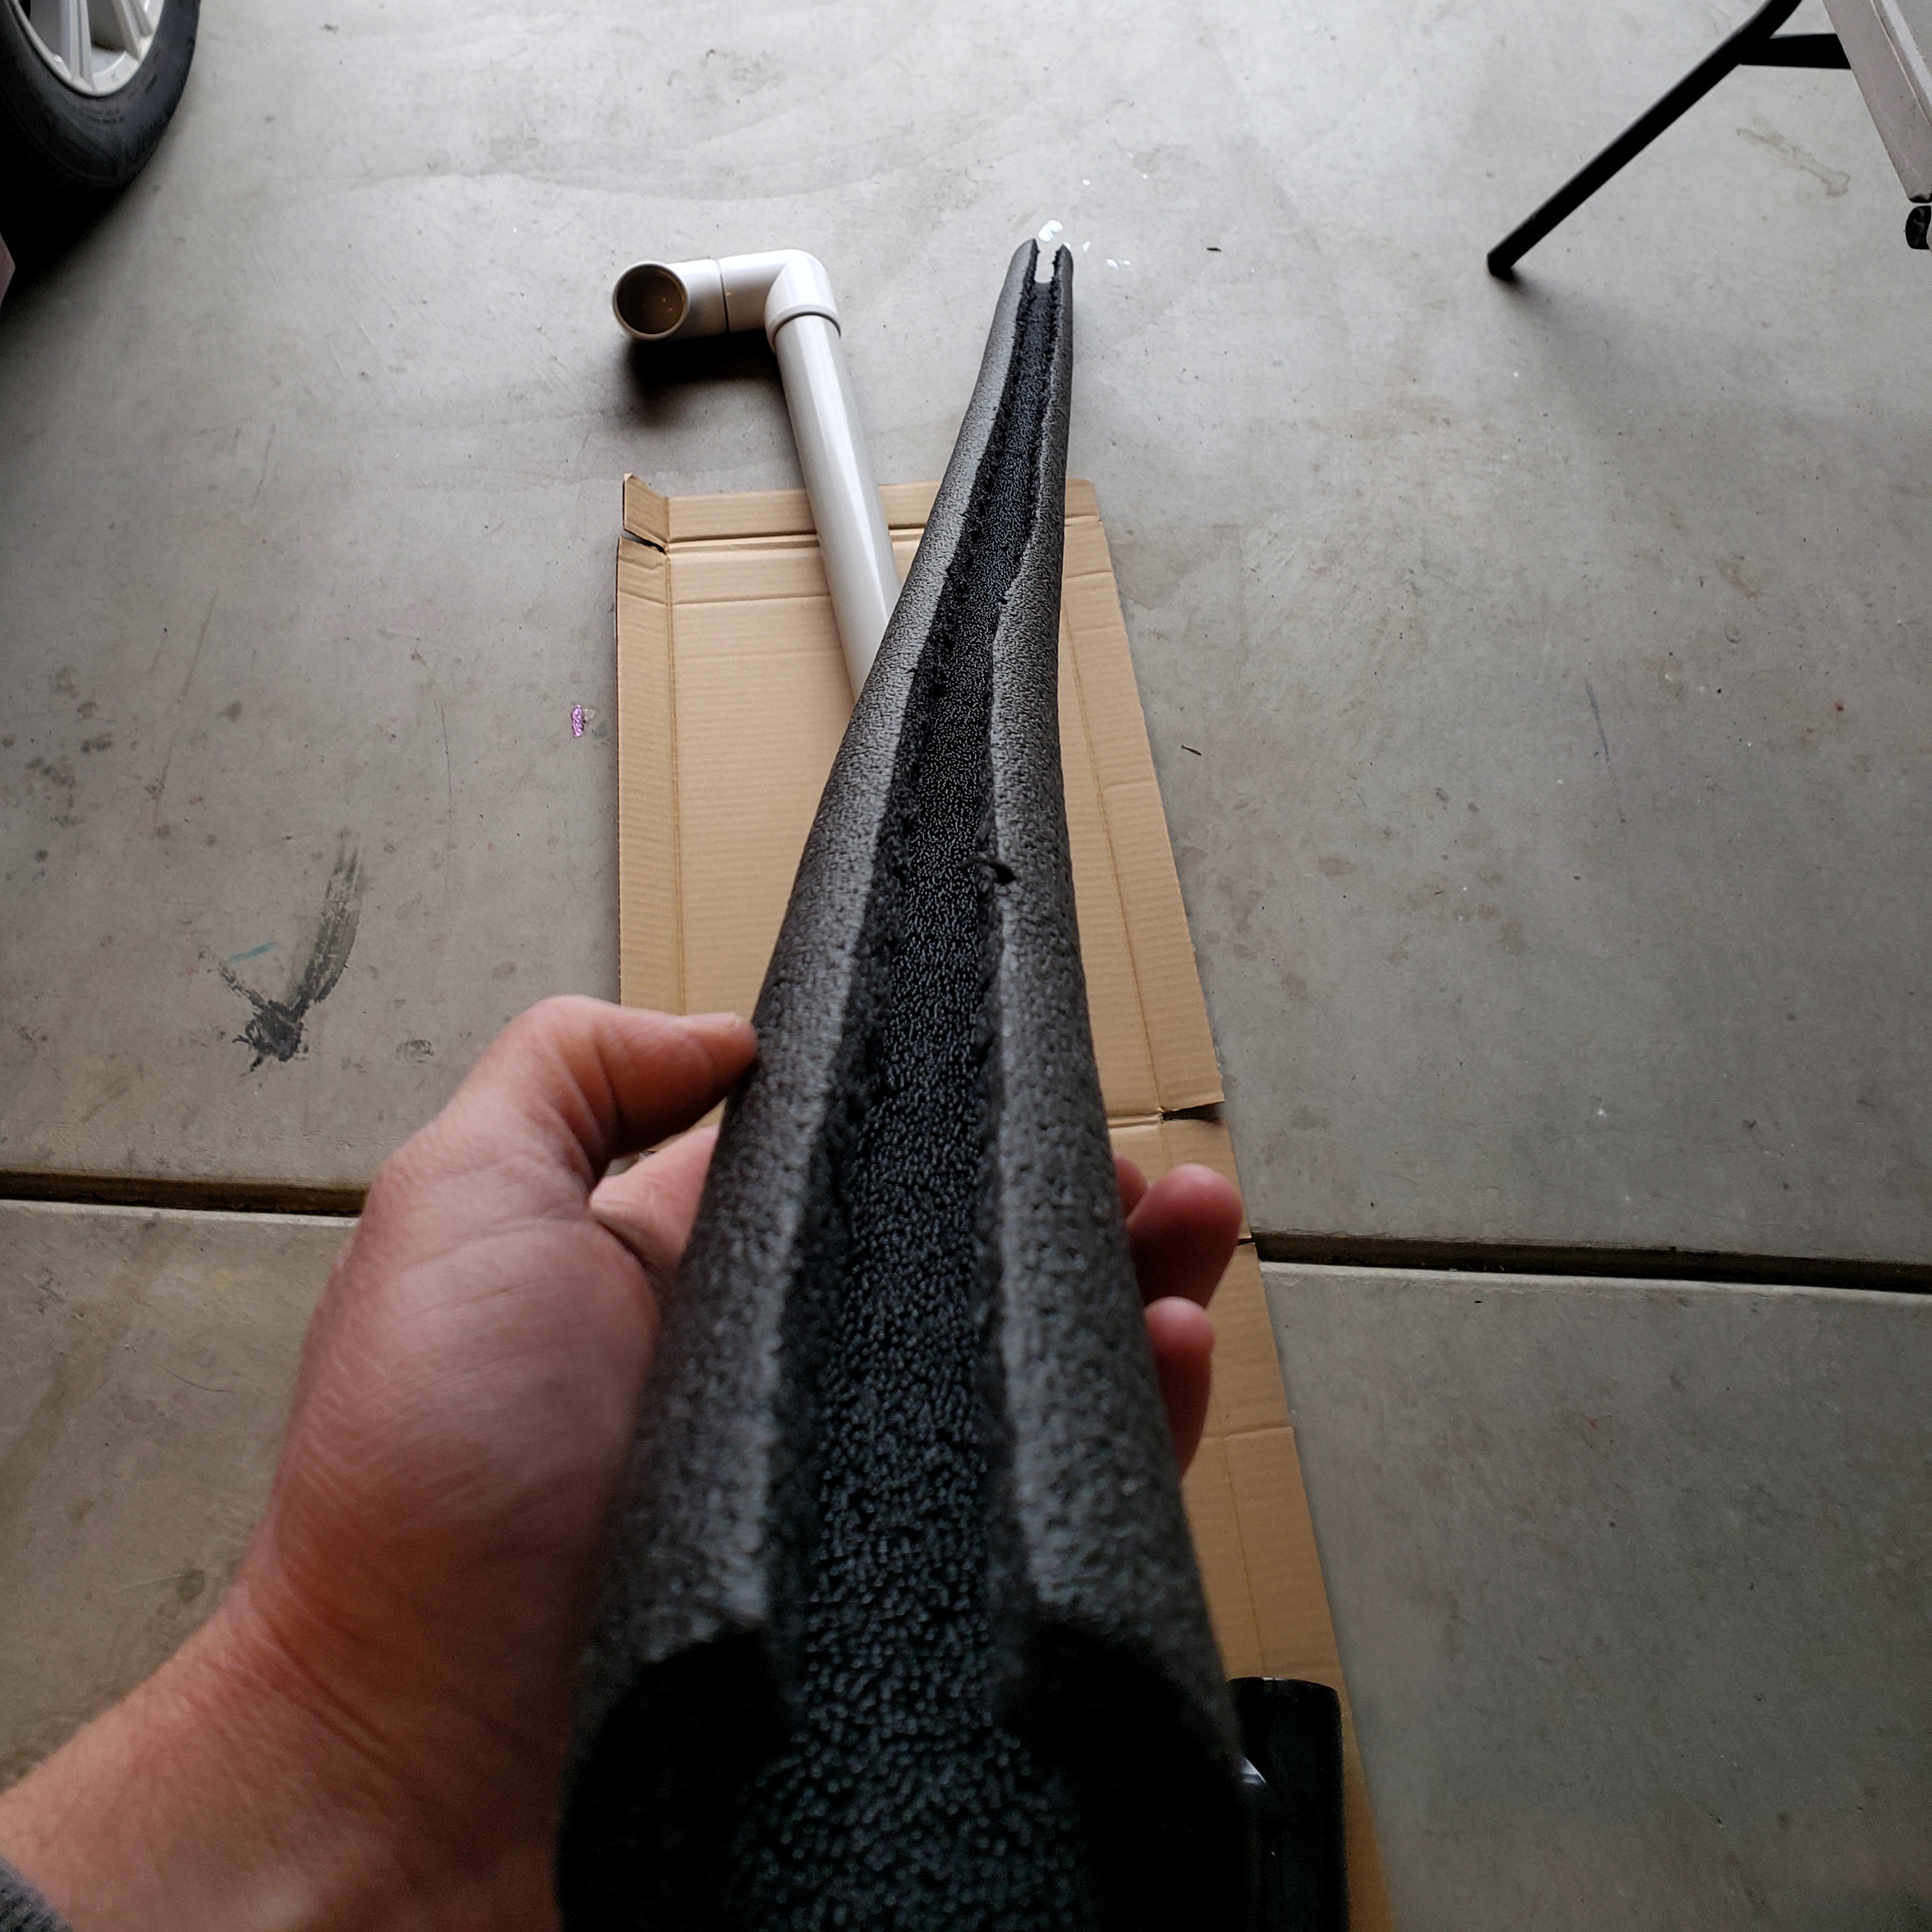
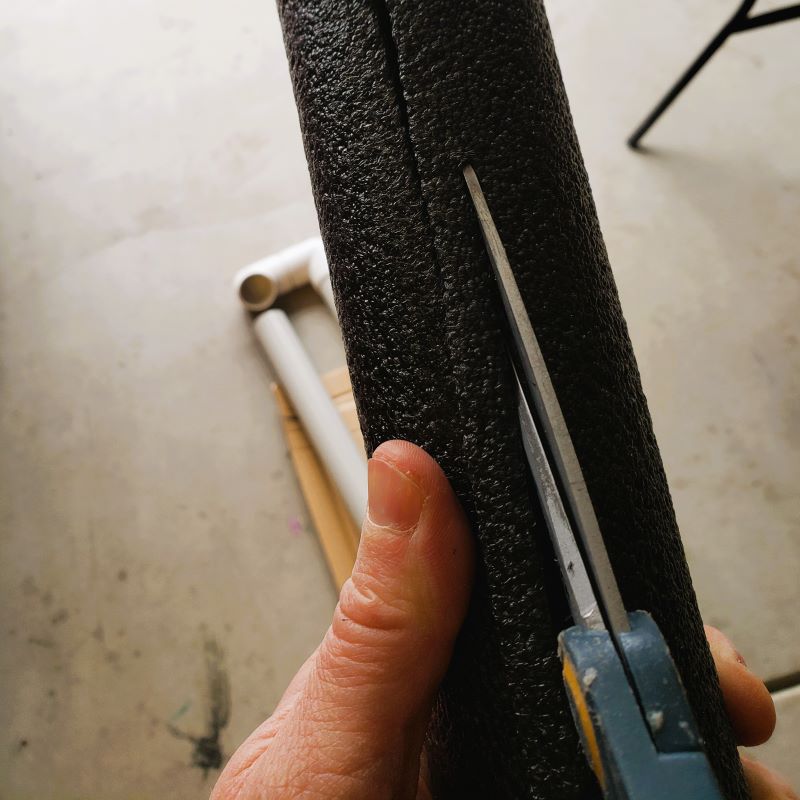
- I used the foam pipe insulation to cushion your rods inside the carrier during transport. The foam was slightly larger around than the inner diameter of the pipe, so I needed to cut a little bit (½’’ wide strips as a time) from the foam as shown. This way I had some room to squeeze it and slid it into the pipe.
- NOTE: You can see I cut a little more than I needed, and ended up with a gap in the foam when inserted in the pipes. I just made sure to orient the gap up at the top, so the rods would rest against the seamless foam at the bottom of the pipes. This seems to have worked just fine to protect the rods in actual use.
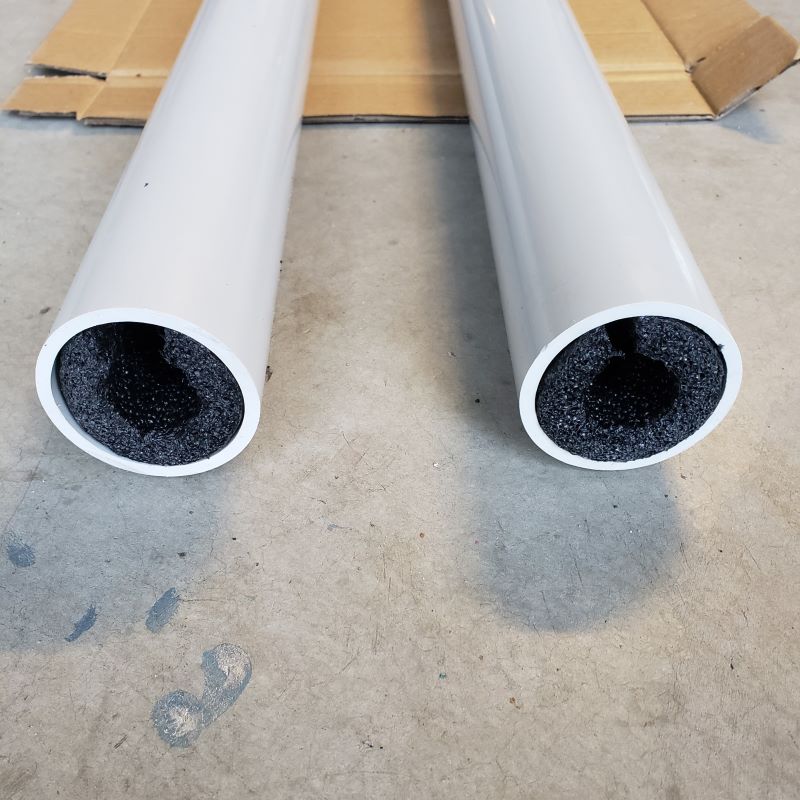
- The 6 ft foam was obviously longer than the 40’’ pipe sanctions, so once fully inserted into the pipe, I cut off the foam leaving about 1’’ to stick out of the pipe. Then I took the remaining 30 or so inches and fed it into the next pipe section back.
- Even with some foam insulation sticking out each end, there was still a gap in the foam at the connector. In use, I have found that sometimes my rod guides can get hung up on the end of the insulation and it may take a few tries to feed the rod all the way into the tube. I think it might help to bevel the inside of the end of the foam just enough to form sort of a funnel shape to help the rod tip and guides in, but I’m only guessing this would help solve the issue. In any event, it’s a small price to pay for knowing the rod is surrounded by foam when I’m driving on rough roads.
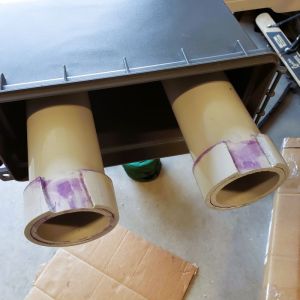
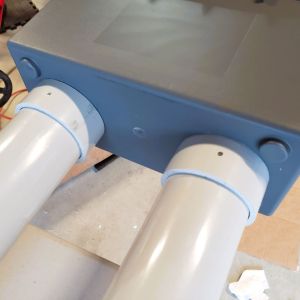
Step 4: I prepared the box
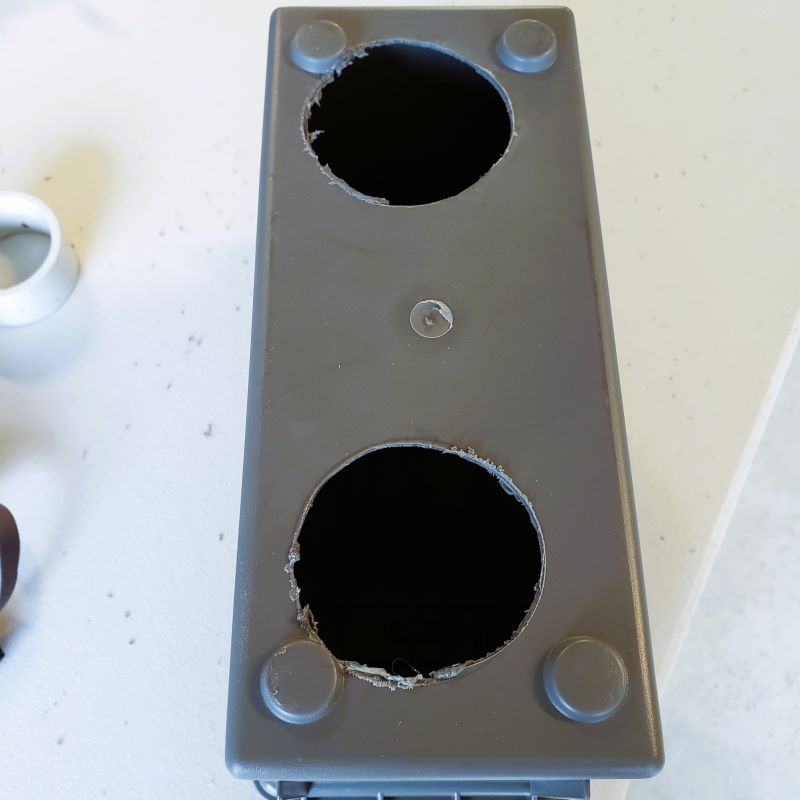
- With all of the foam in place, I modified the ammo box. I held the bottom of the box up to the assembled types and traced the ends onto the box, so I would know about where to drill out the holes. I wanted to make sure this connection could be made weatherproof so I made clean circle cut outs as close to the outer diameter of the pipe as possible.
Step 5: I installed the box to the pipes
- With the holes cut out, I inserted the pipes into the bottom of the box and slide the box up until the ends of the pipes cleared it. Then I took two of the 1-½’’ pipe rings I cut in Step 1 and cut each of them on one side so the ring could open up. Then I set them aside for the next step.
Step 7: Glue!
- I stated at the tip of the carrier and glued all of the pipes and fittings together with PVC cement.
- NOTE: I laid the carrier flat on the garage floor as I glued it in order to ensure the pipes went together straight and didn’t have a chance to sag slightly at the joints before the cement cured. I was worried that even slight sag would be noticeable when done, so I tried to keep things as flat as possible.

- When I got to the box end I applied the cement and installed the rings flush with the end of each pipe. For added security during assembly, I drilled a couple of 3/32’’ holes about ¼’’ from the inside edge of the ring and screwed in some tiny size 2, ¼ inch stainless steel screws I had from a previous project. These probably weren’t necessary as the cement and tension on the rings probably would hold them pretty tight, but I did it anyway.
Step 8: I tested the fit with a fly rod
- Now that the parts were glued but the box was still free, I gave it a fit test with the largest-weight rod I planned to transport in the carrier (an 8 weight) and put it in both tubes. Once fully in, I tried to close and latch the box lid without hitting to rod.
- When I initially tested, it was clear pretty quick that the fighting butt on the 8 weight rod wouldn’t allow the lid to close and latch. To buy the inch or so I needed, I cut down the ringed ends of the pipe, and it actually worked out well.
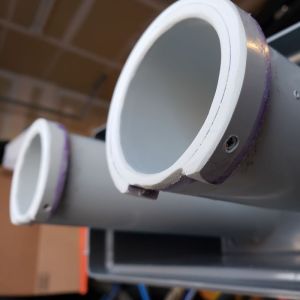
- Once the rings were screwed down and the cement had taken hold, I cut 1’’ from each of the pipe ends, then sanded the edges to give the ends a smooth, rounded finish. This made it gentler on the rod handles and reels in the box.
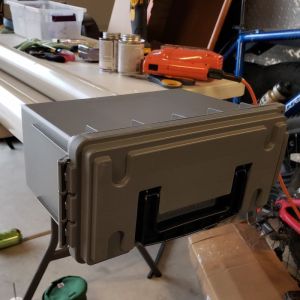
Step 9: I installed the box
- First I wrapped weather stripping tape just behind the end rings, then I slid the box back firmly against the end rings and then cemented the front rings in place. My goal was to slide the front rings back on the bottom of the box hard and compress the box between end and front rings, compressing the weather strip tape and sealing the box in the process. Again, I screwed a few screws into each ring to “screw and glue” in place, but this probably isn’t necessary if you wait for the cement to grab hold.
- I chose to remove the handle from the ammo box, but this isn’t necessary. I did it just in case it were to flap in the wind or over bumpy roads.
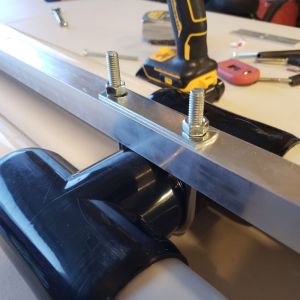
Step 10: I installed the frame
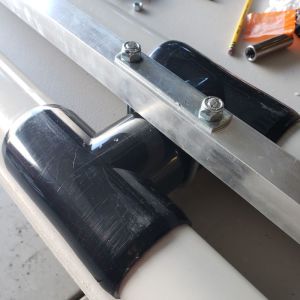
- I turned the carrier upside down and laid it flat, then put the aluminum tube on top of it, resting on the two “H” unions. I put the end of the tube about 6’’ from the box. I took the first U bolt and looped it over the “H” union nearest to the box, and carefully mark where to drill two holes in the aluminum tube. The U bolt was just a hair narrower than the H union, so I opening it up a little bit. Then I drill two holes at the marks and install the U bolt with the included plate and tightened it down.
- Then I repeated the same process on the other H union.
- Last, I cut off the excess bolt studs, and ground the cuts smooth to minimize the possibility of scratching the car when I was putting the carrier on or taking it off.
Step 11: I added the supports
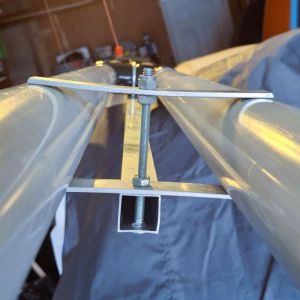
- I took 24 inches of ⅛’’ thick aluminum bar that was 3/4” wide and cut it into four, 6’’ pieces. Then I drilled a ¼’’ hole in the center of each bar.
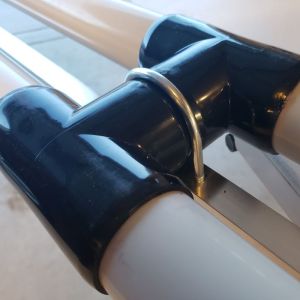
- Next I drilled a ¼’’ hole at each end of the frame tube. I Insert a carriage bolt up from the bottom and seated it into the hole with a mallet. Then I added the first bar onto the bolt, turned it as needed to fit it through the pipes and down against the frame tube, then locked it down with a nut.
- Up at the top, I added another nut and spun it down just below the pipes. Then I added the second aluminum bar and another nut, and tightened down. This way, the top bar was under slight tension and to hold the pipes securely.
- Then I repeated the process at the other end of the frame tube.

Step 12: I fitted to the vehicle
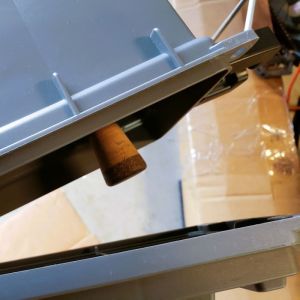
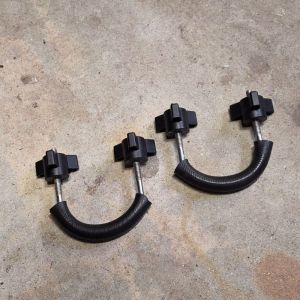
- My first step was to measure the width of my car’s cross bars and choose U bolts that would fit best. Once I had those, I added a section of rubber hose to the bends in each bolt to protect the cross bar from the metal bolt.
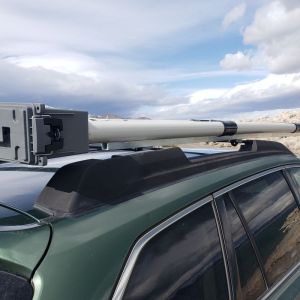
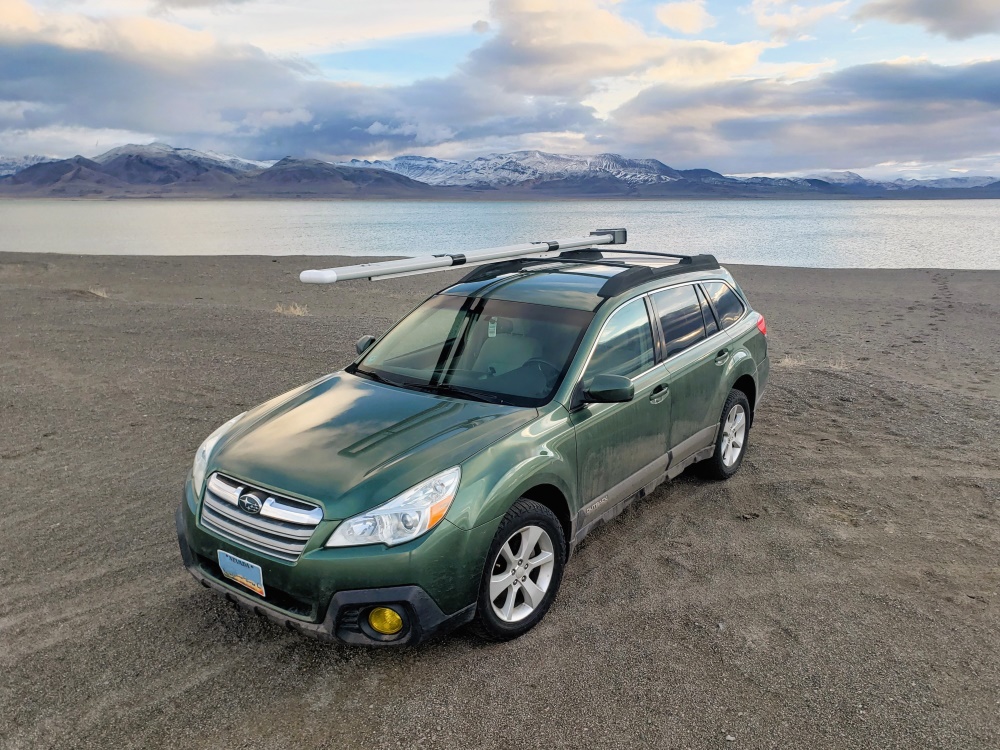
- I carefully placed the carrier sitting right side up on top of my Outback’s cross bars. I wanted to be careful to not have it too far forward, but also not too far back so as to block the hatch from opening all the way. When I found the sweet spot, I marked the frame tube with a pencil to mark where each cross bar sat.
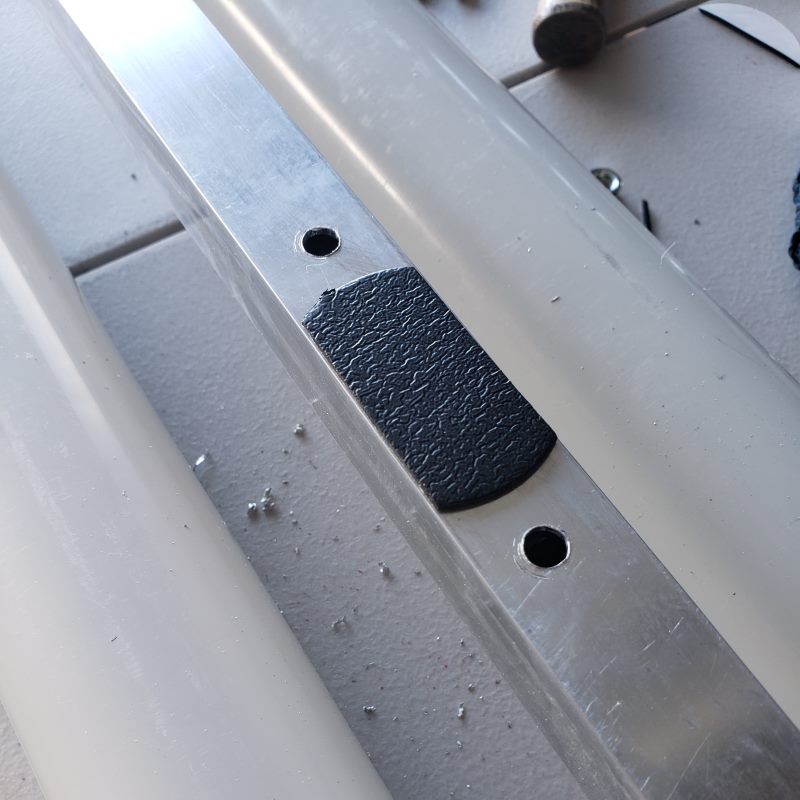
- Back at the table or on the floor, I took the U bolts and positioned them on the frame tube between the marks for the crossbars, and marked where to drill the two mounting holes at each end. Then, I drilled the holes. For extra protection for the cross bars, I added a strip of foam pad between the holes to make a “foot” to cushion the frame tube / crossbar connection.
- Last, I re-installed the carrier on the car and installed the U bolts. When tightened down, I inspected the carrier and made sure it was tight and secure on the rack.
Security considerations
- I use a padlock at all times to keep the box locked and the rods secure.
- When I have the rack installed on my car, I fasten the u-bolts with regular nuts or lock nuts. The top of the frame tube and the bottom of the pipes overlap at each side, so you can’t simply us a crescent wrench from the side to unscrew the nuts. Instead, you’ll need to use a long socket and ratchet from the top. I felt this was sufficient to deter any “grab-and-run” sort of theft, which will probably fit most situations. I haven’t felt a need to do more than that, but I’m sure you could if you wanted to.
Like this project? Find more cool stuff here

Guides
Learn how to build zippers, bind seams, and more

Patterns
Find a FREE pattern for your first project.

DIY Projects
Find DIY inspiration here.
Don’t miss out on other cool projects!
Sign up to be notified when we release new content and patterns. We respect your info and won’t spam you. You can unsubscribe anytime.
