Get Started
Let’s get sewing!
Getting started is easy! All you need is a sewing machine and a few tools.
Getting set up with the basics for making your own gear can seem a little daunting, especially if you’ve never done much sewing. I should know, I only recently jumped into this in the fall of 2024. But you actually don’t need a lot of stuff to make your own gear. The most important things are a desire to create, a curiosity to learn, and a sewing machine.
Sewing Machine
While you can definitely make your own gear with no more than your two capable hands, you’ll need a sewing machine for the types of projects we’re talking about here. There are lots of fine sewing machines to choose from, but the easiest place to start is with the machine of least effort. That’s probably a sewing machine you already own or have access to, or one that won’t cost much to buy.
What I chose
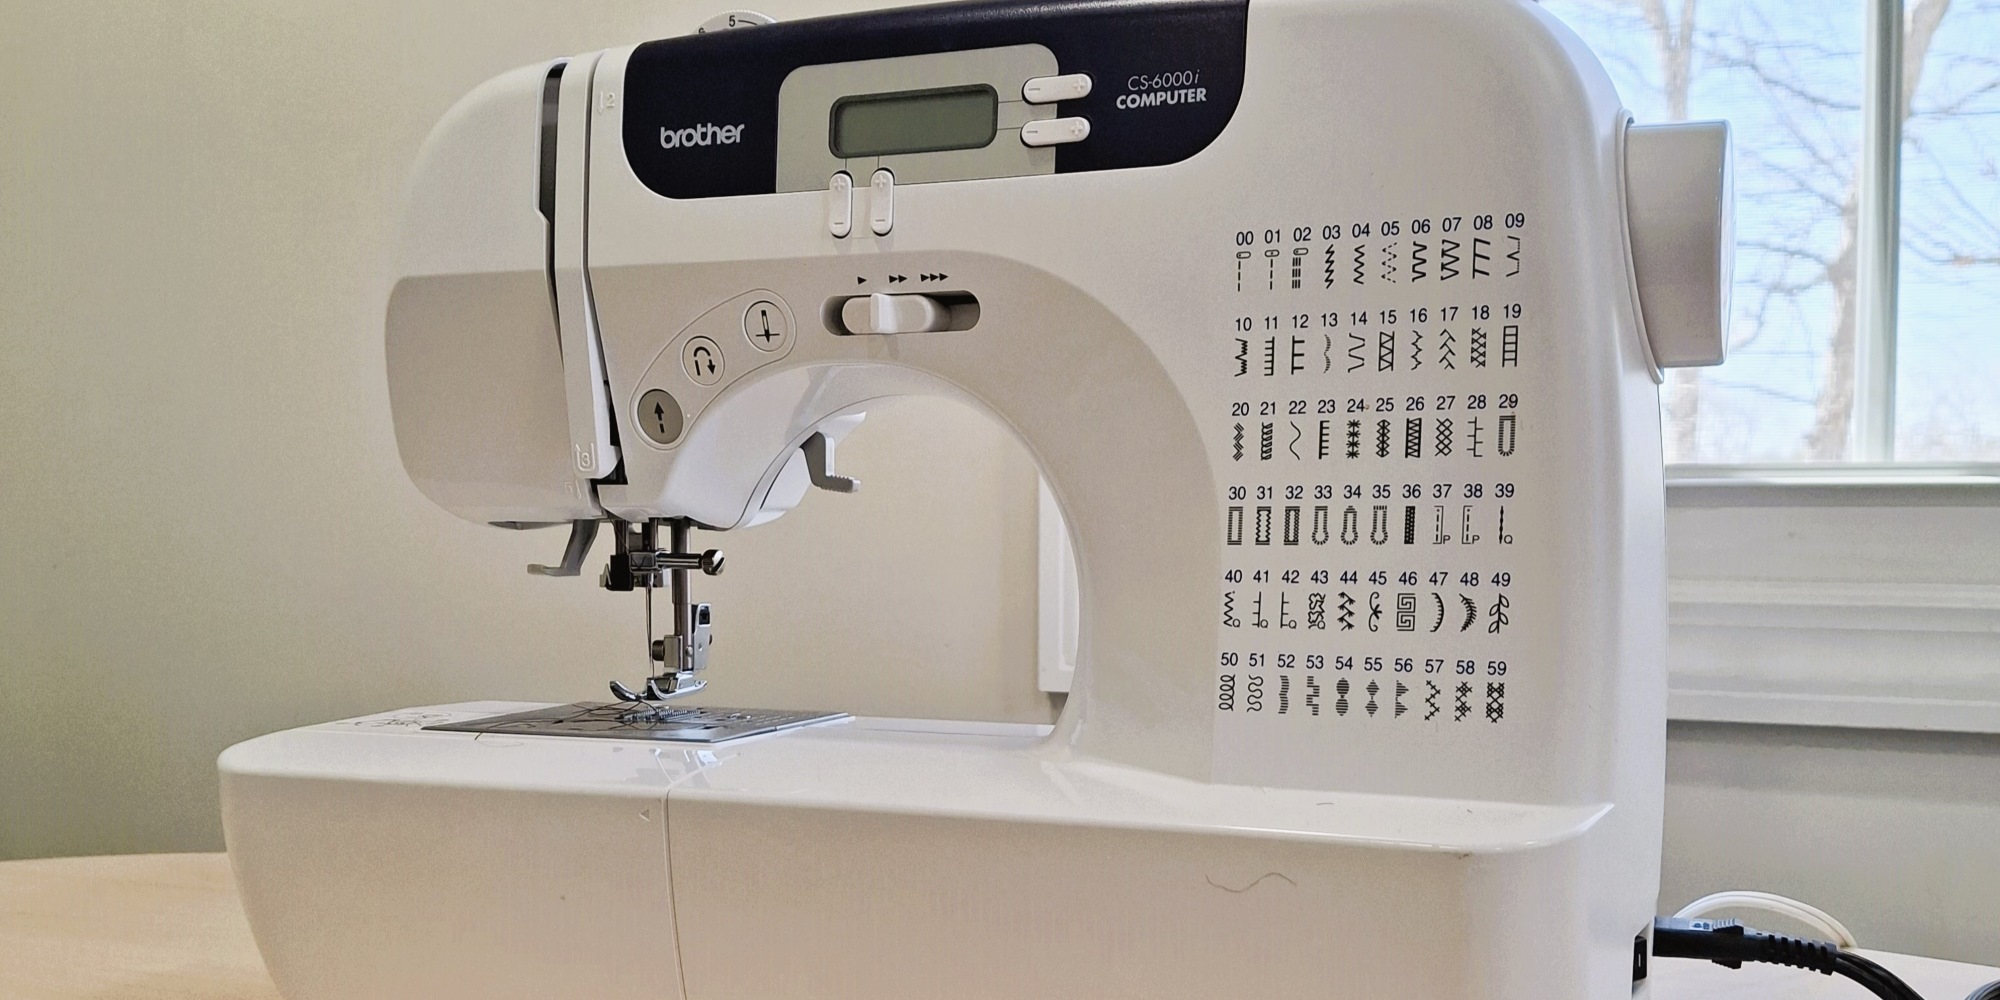
I didn’t own a sewing machine prior to sparking an interest in MYOG, so I did some research online to find an easy-to-use machine that would be affordable. The Brother 6000i was highly rated as great for beginners, and had recently been replaced by an updated model in the Brother line, so I figured the second hand market might be affordable for this older model. I was right, and I was able to find a lightly used one on eBay for $120. So far, it’s done a great job with the projects that I have made, and I find it very easy to use.
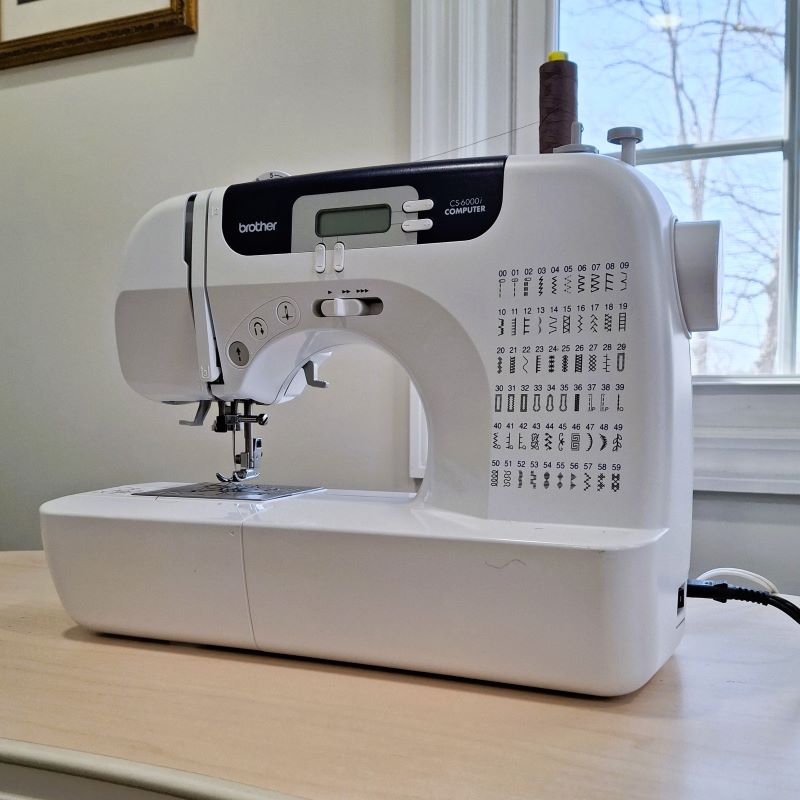
All of the MYOG Angler patterns on this site are designed to be built using a home sewing machine. The machine I currently use is a Brother CS6000i. I chose this machine because it was highly rated as being beginner-friendly, and was affordable in the second-hand market. Even though the machine has dozens of computerized stitching options, I only use two stitches on a regular basis.
If you don’t already own a sewing machine, try checking around with friends and family to see if any of them might have one lying around they wouldn’t mind parting with or loaning you. You can also try local sewing shops or thrift stores to try to score a cheap machine there. And of course, Facebook Marketplace, Craigslist, and eBay are all good options to check for a decent used machine.
When looking at age and wear and tear on used machines, bear in mind that a machine with some history will likely need a tune up before it’ll be of much use, and from what I understand, that can run $80-$120+ at a sewing shop. And you definitely don’t want to end up trying to sew with a machine that has issues, as that will make learning the sewing itself a heck of a lot harder. All things considered, I would recommend choosing a like-new or brand new machine ahead of one with signed of age or wear and tear, unless you are committed to having a professional go over it before you use it.
If you decide to go with a new unit, there are several good options in the $200-$250 range, including the Singer Heavy Duty units, which are often mentioned in the MYOG community. There are some refurbished Singer HD units for sale on eBay as of January 2026 that run $160. That’s a pretty good deal!
Thread
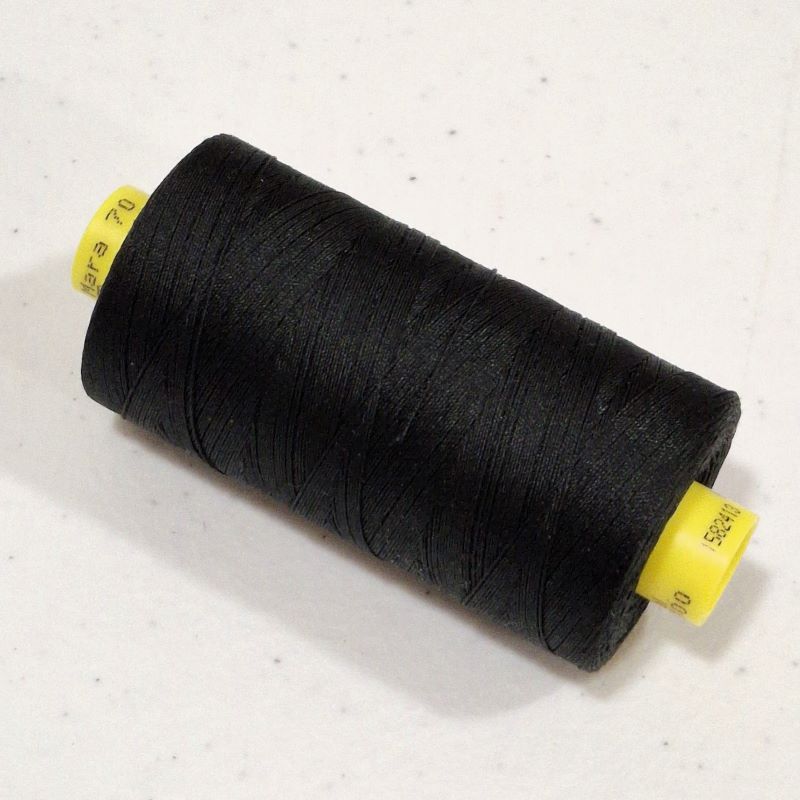
There are lots of thread options to choose from, but there’s one nearly universal thread you’ll want to start with that will work for most of your projects: MARA 70 / Tex 40 poly thread. This thread is 100% polyester and ideal for use with the synthetic fabrics and materials used in outdoor gear. Gutermann is the brand of choice, and they make this thread in a lots of different colors. They also make MARA 50 (thicker) and MARA 100 (thinner) thread that you may decide to use on later projects, but MARA 70 is a good all-around thread weight to start with.
Needles

Needles don’t need to be fancy, just sharp. For MARA 70 thread paired with the fabrics we use for MYOG Angler projects, needles in sizes 80/12 and 90/14 are generally recommended. I have had good results with 80/12 size needles, so that’s what I stock up on. In general, you will want to use a new needle for each project to make sure you have a good sharp needle that won’t make the sewing machine work too hard as it stitches. Some of the stitching we do in these projects will require to machine to sew through several layers of fabric and webbing, so a sharp needle can make a big difference. Schmetz needles are low priced and high quality, and highly regarded in the sewing community from what I can see.
Essential Tools
Scissors
You’ll need a good pair of scissors for precisely cutting out your pattern pieces. You probably already have a suitable pair around the house, and these should work fine.
Fabric Shears and Thread Snips
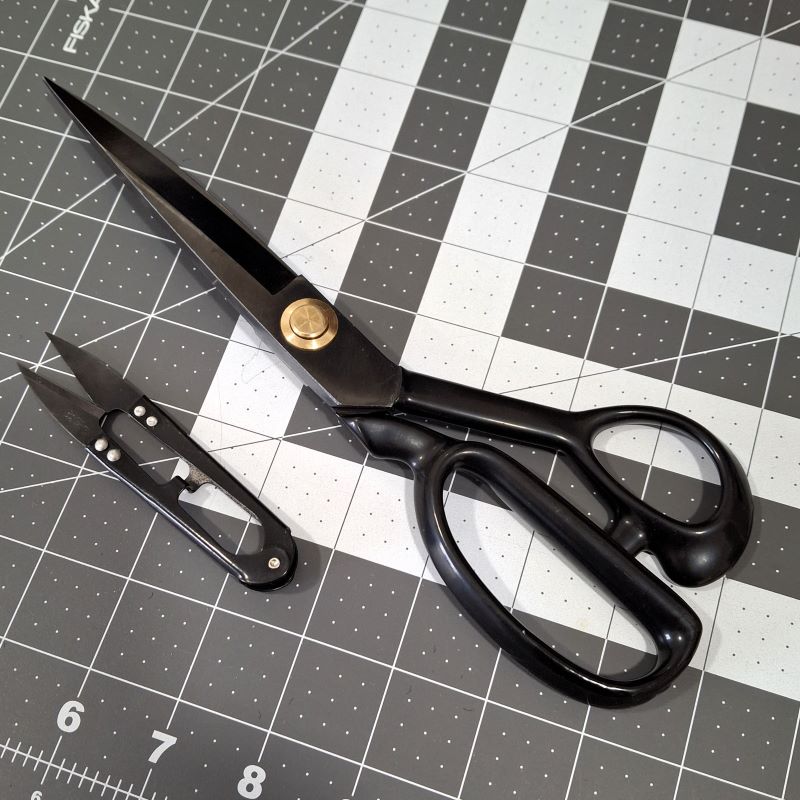
Keep a pair of scissors for paper, and a separate pair of sharp scissors or fabric shears for fabric. This is super important to make sure the shears stay as sharp as possible and aren’t dulled by cutting other materials. The shears will come in handy for cutting out pattern pieces and for tripping pieces when needed as you assemble your projects. Thread snips are the most convenient way to snip the threads when you complete a stitch, which you will do dozens of times on each project. It’s again important to keep these dedicated to cutting one material only – thread – so that they stay sharp.
Shears and snips don’t have to cost a lot. When I started, a picked up the set pictured here for about $10 on Amazon, and they are working well.
Ruler and Tape Measure
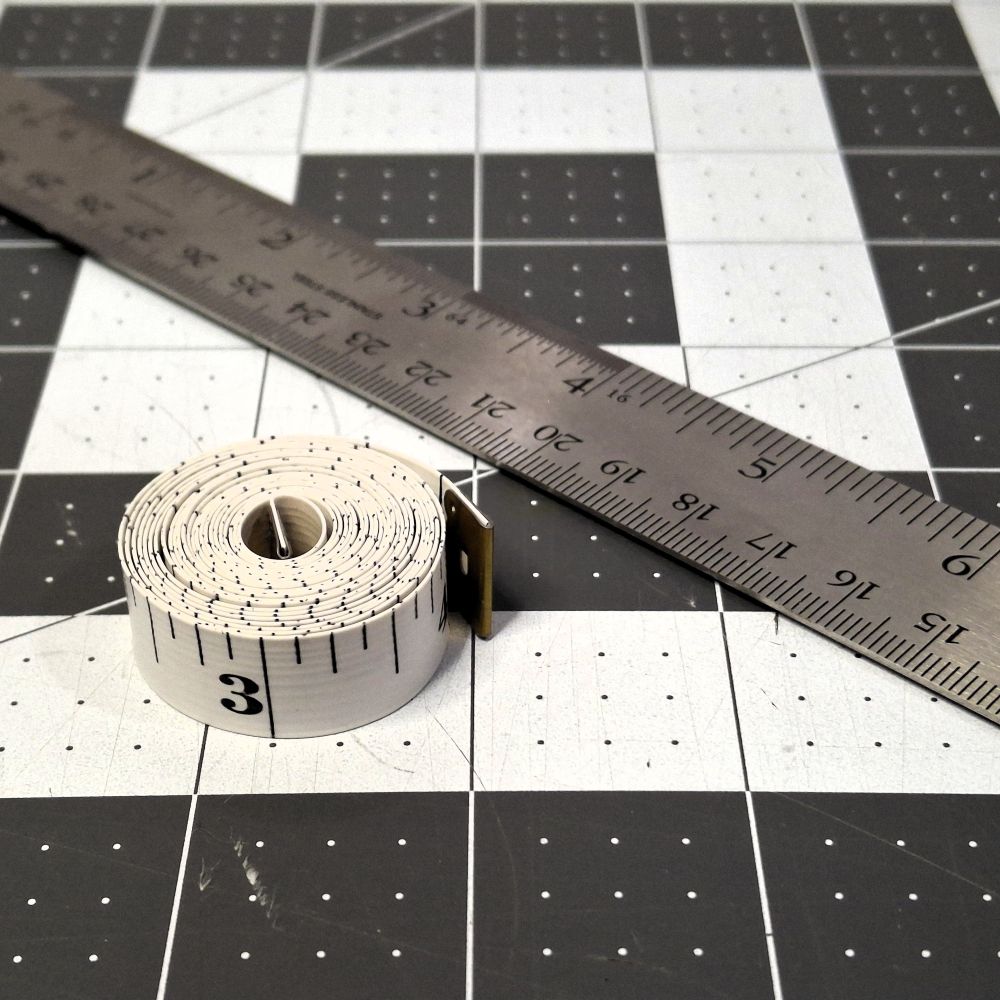
You’ll want a way to measure out your materials, so a tape measure and a ruler are essential tools. A soft tape measure can also be helpful when measuring for strap lengths, to ensure you make your straps the right fit for you.
Clips and Small Tools
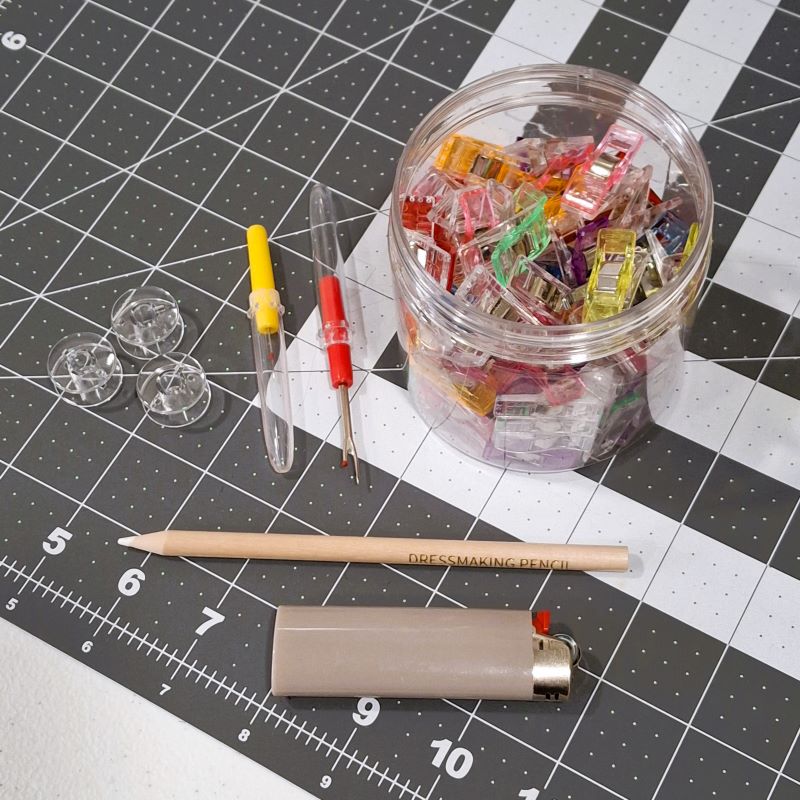
Sewing clips are something you won’t be able to live without, and will make assembling project pieces a breeze. You’ll use these to hold component pieces together between assembly and stitching, and sometimes you’ll need a lot of clips. The best way to buy these is in packs of 50-100 online at Amazon or Ebay.
You’ll want to keep around one or more seam rippers so that you can cut out unwanted stitches when needed. This makes the occasional “do-over” a lot easier if you happen to stitch some pieces together wrong and want to give it another try. A set of basic seam rippers should only set you back a few dollars online.
A sewing pencil is helpful for making marks on fabric, which is something you will do regularly when using MYOG Angler patterns.
Your sewing machine may come with a bobbin or two, but it’s handy to have a few extra of these small clear spools. This way you can pre-spool several bobbin ahead of time and swap them out with ease, to get back to sewing more quickly when the bobbin you’re using runs out of thread. These, too, are much cheaper online than in stores.
Finally, a simple lighter is important to keep on hand to melt the cut ends of webbing, paracord, etc. to prevent fraying.
Rotary Cutter and Cutting Mat

These two items are too useful to not call essential, but it’s possible to get by without them if you really want to. A rotary cutter is excellent for precisely cutting out both your paper pattern pieces and fabric pieces. The rolling action of the cutter makes cutting out contours faster and more seamless than trying to do it with scissors. I recommend a 28mm cutter because the smaller diameter blade makes cutting around tight curves easy. You can get a good rotary cutter for about $15 at sewing stores or online.
A cutting mat is essential when using a rotary cutter to protect the surface you are cutting on. The soft plastic of the mat also keeps the blade from dulling too quickly. I use an18” x 24” (46cm x 61cm) mat made by Fiskars, and it works fine for the size of projects I am usually building. It ran be about $30 online
Materials

So you have all the tools, now it’s time to sew! But what to sew?
The first day I set up my new-to-me sewing machine, I went to my dresser and pulled out an old “junk” shirt and shorts that I wore to do work around the house. I figured I’d keep the new fabric I had bought for later projects when I had a decent chance of success, and cut my teeth on old, no pressure scraps. This ended up working out great, and within a couple of hours of practice I had built my first MYOG project – a small zippered pouch.
Take a look around first

Take a look around the house to find your first few materials to practice on. A cotton t-shirt, a beat up reusable shopping bag, an old tablecloth. The point in the beginning is less about working on materials that mimic the pack fabrics you will step up to soon, and more about getting to know how your sewing machine operates with a variety of materials. It also provides you a low-stakes “sandbox” to experiment with thread tension, stitch types, lengths, and widths, and build a little bit of confidence. After just 30-60 minutes of practice you’ll likely have the basic hang of things and be ready to progress to your first small build.
Ready to take the next step?
Check out our guides and patterns to learn more and pick a project you want to build!

Guides
Learn how to build zippers, bind seams, and more

Patterns
Find a FREE pattern for your first project.

DIY Projects
Find DIY inspiration here.
Don’t miss out!
Sign up to be notified when we release new content and patterns. We respect your info and won’t spam you. You can unsubscribe anytime.
Please note, the links on this page are NOT affiliate links, and no promotion is intended. Just trying to provide guidance. If this changes in the future, I will call it out.
