
Easy Seam Binding
with Home Sewing Machines
No MYOG project is complete without proper seam binding. However, this can be a challenging task for a home sewing machine. This guide covers a few of my frustration-free techniques and material options to achieve clean and durable seam binding, specifically tailored to the limitations of a home sewing machine.
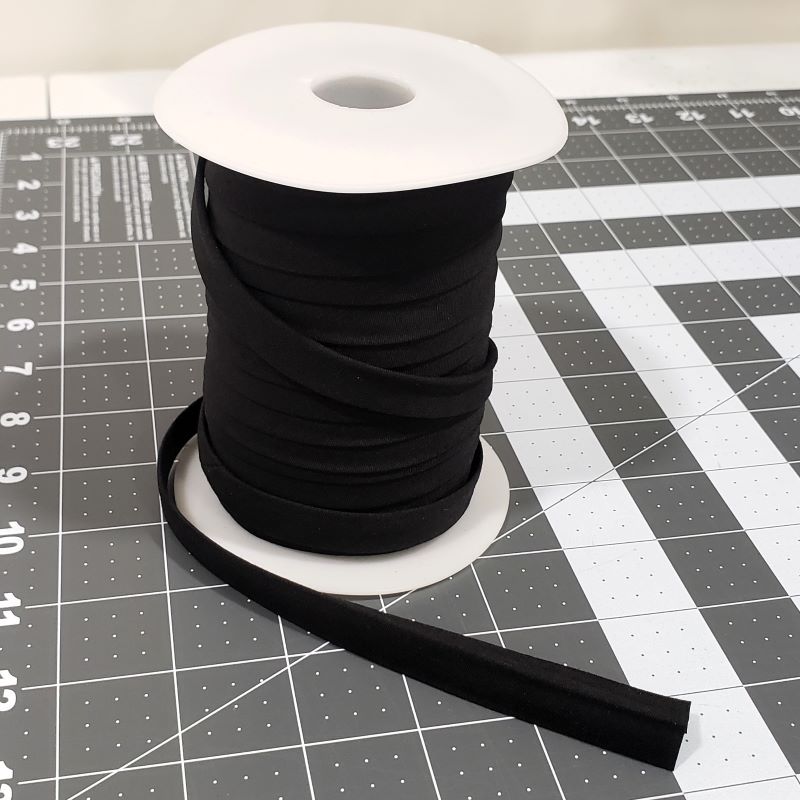
Double-Fold Bias Tape
The straight stitch is the workhorse of every sewing project. This is the quintessential sewing stitch that can be sewn by hand or machine, and makes the basis for all of the connections you sew to complete your projects. MYOG Angler projects may reference two different versions of the straight stitch, each used for a different purpose.
Pre-creased ease
Double fold bias tape is very easy to use, in part because it comes pre-creased. This allows you to easily apply the tape to your seams and clip it in place without any resistance. This also allows you to make minor adjustments as you sew without worry that the tape will pop out of position too easily.
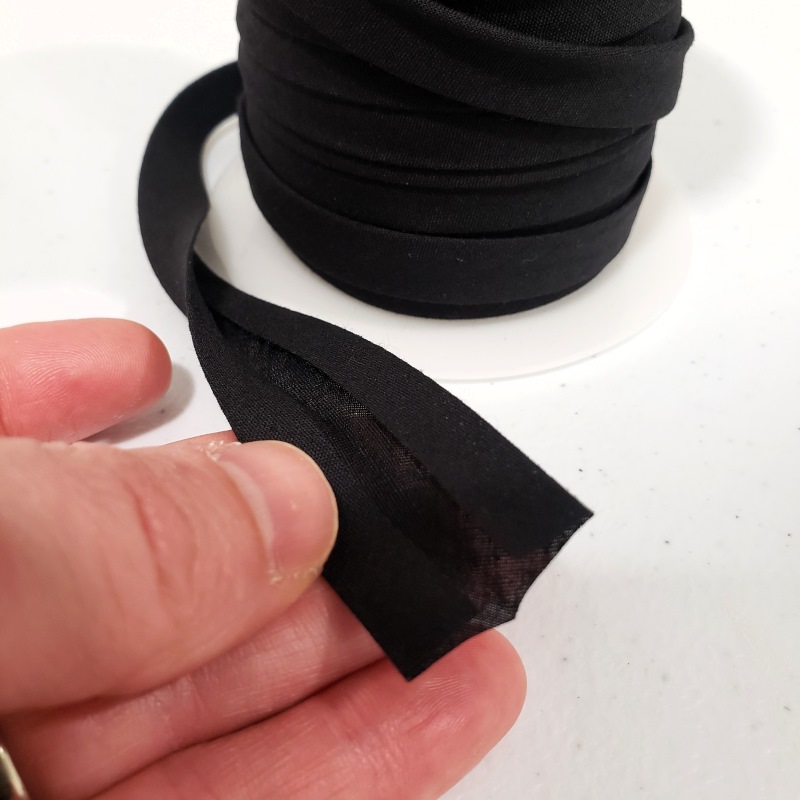
Curves are where bias tape shines. The natural stretch in the material allows the tape to contour around gradual curves without the rippling that stiffer ribbons like grosgrain can show.
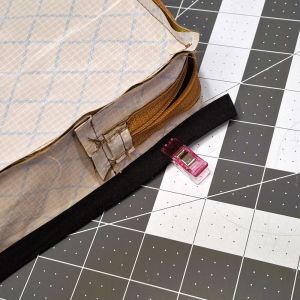
Bias tape in use
Using bias tape is straight-forward. Cut the length of tape that you will need for the seam you intend to bind. Put the tape around the seam, snugging the edge of the seam into the crease in the tape. Clip the tape every inch or two to keep it in place. Start stitching at one end, with a ⅜’’ (9mm) seam allowance. The tape is ½’’ (13mm) wide when folded, so your stitch will sit about ⅛’’ (4mm) from the inner edge of the tape.
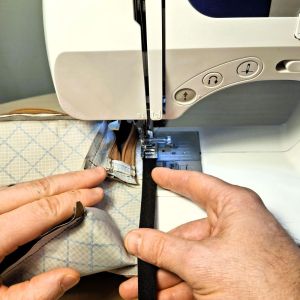
Once you become more comfortable with the process, you can ditch the clips for the most part and get a closer fit and faster process. I usually start with a single clip holding the tape in place where I will start my stitch. Once stitching, I remove the clip and hold the bias tape with my thumb and middle finger, stretching is just a little bit, and hold it snug against the seam with my index finger. The result is a tighter fit of the bias tape to the seam, and no clips to remove along the process.
Corners
While bias tape can curve around contours, corners require some extra work much like other binding options. My method starts by binding all of the seams going in one direction of my project, like the seams of my bag running up and down, and making the top and bottom seams the final step that will “cap” off the seam binding. I try to make these corners as clean and strong as the straight seams, and I have a couple of ways of doing this.
The Fold Over Method
- Bind the seams going one direction on your project, so that the next binding strips will “cap” off the corners.
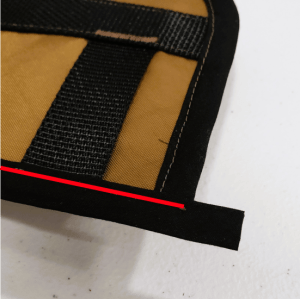
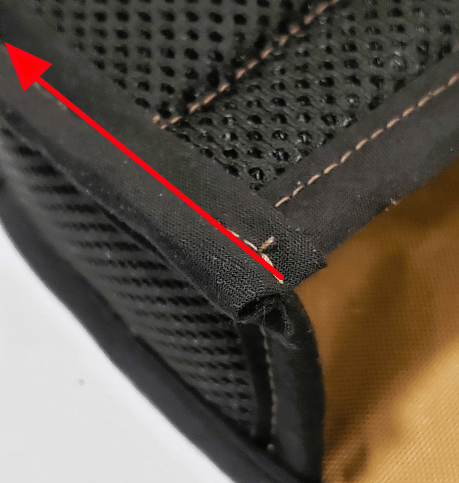
- Top-Stitch the bias tape over the remaining seams with a ⅜’’ (9mm) SA. (Seam shown in red in the first photo).
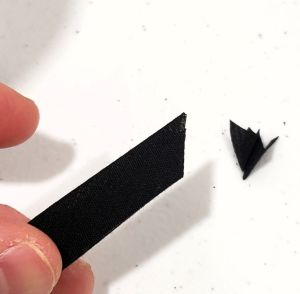
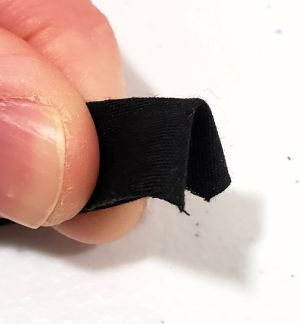
- Finish each corner by first folding the extra bias tape back on itself, then clipping it down. (Bias tape edges are highlighted in white in the second photo.)
- Sew in a Top Stitch vertically down the width of the tape, about 3/16’’ (4mm) from the edge. Clip off the excess bias tape to within ⅛’’ (3mm) of the stitch. (Seam shown in red in the photo.)
The Fold Under Method
- Bind the first set of seams going one direction on your project, so that the next set of binding strips will “cap” off the corners.
- Top-Stitch the bias tape over the remaining seams with a ⅜’’ (9mm) SA.
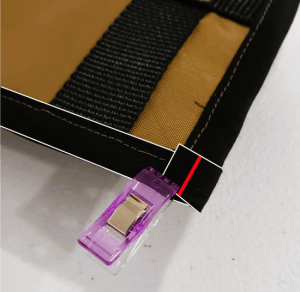
- To make a clean end on each corner, cut the tip of the bias tape at a 45 degree angler. Then fold the end of the bias tape under itself. Put a clip onto the end to hold it in place until just before you stitch it. (First and second photos)
- Stitch down the end, then continue stitching the remainder of the seam. (Seam shown in red in the third photo.) When you reach about ½’’ (13mm) from the end of the seam, end your stitch.
- Repeat step 3, on the open end, then stitch it down, completing your seam.
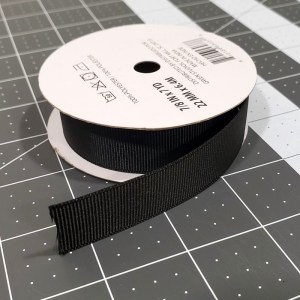
Grosgrain Ribbon
Grosgrain is one of the most common types of seam binding materials you find in many commercially produced bags and packs, and for good reason. The polyester ribbon is abrasion resistant and strong, while being quite thin and soft to the touch. When you want to impart the best durability to the seams of your MYOG project, grosgrain is the choice.
The Case for Grosgrain
Grosgrain ribbon is widely available, comes in many different colors, and has high abrasion resistance. This makes it a great choice if you want to color match your binding to your fabric. It’s high abrasion resistance makes it an excellent choice for exterior seams, or other seams that will get more wear and tear.
Grosgrain vs. Home Machines
The biggest challenge with grosgrain is that it has virtually no stretch, so it can be difficult to stitch onto your seams around curves and contours, where the ribbon is likely to ripple. These challenges are heightened on a home sewing machine, which lacks the attachments and capabilities that help industrial sewing machines tame grosgrain with ease.
Binding straight and curved seams
- Cut your desired length of grosgrain ribbon. Gently melt the ends of the ribbon with a lighter to prevent fraying. Crease your first section of tape down the middle, the long way.
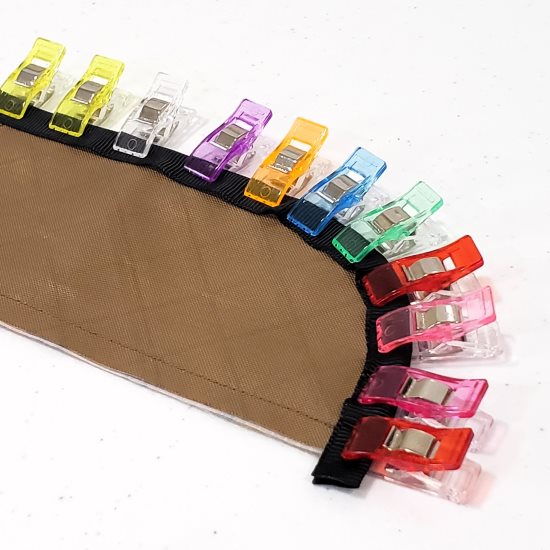
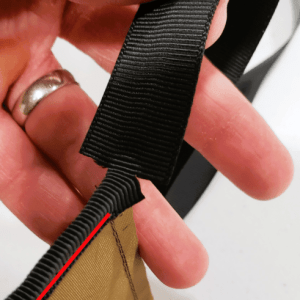
- Carefully clip the grosgrain along the seam, clipping it down with a generous number of clips. (First photo)
- Begin Top-Stitching the grosgrain to the seam with a ⅜’’ (10mm) S/A.
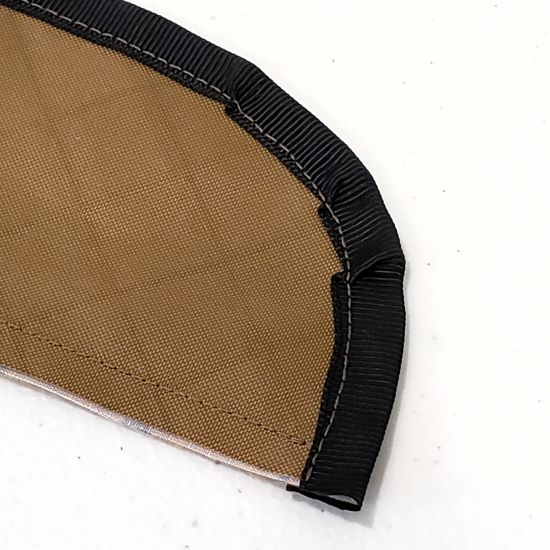
- Take care and sew slowly around curves. You can’t prevent the grosgrain from bunching up, but you can work to keep the ripples in the ribbon more or less evenly spaced and evenly secured by the stitch. (Second photo)
While it may not be the prettiest, you can still get decent results with this technique while gaining the benefits that come with grosgrain.
Binding Corners
With the challenges of working with grosgrain around curves, I prefer to use grosgrain on seams that meet at angles so that I can use this method for achieving clean edges with no ripples.
- Cut your desired length of grosgrain ribbon. Gently melt the ends of the ribbon with a lighter to prevent fraying. Crease your first section of tape down the middle, the long way.
- Carefully clip the grosgrain along the seam, clipping it down with a generous number of clips.
- Begin Top-Stitching the grosgrain to the seam with a ⅜’’ (10mm) S/A.
- Stop your stitch about ⅜’’ (6mm) from the edge of the body, back stitch, and cut the cut the tails. .
- Take scissors and carefully cut about ⅓ of the way through the ribbon on either side, in-line with the tip of the body panel corner. (First photo)
- OPTIONAL: Carefully melt these cut edges with a lighter just enough to prevent fraying. (Second photo)
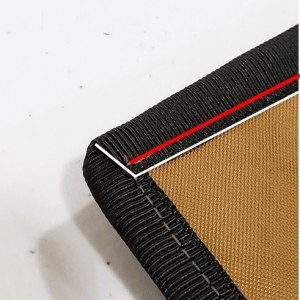
- Fold the grosgrain 90 degrees down around the corner of the body, to cover the outer edge, and begin Top-Stitching it down the next edge. Note: the grosgrain edges are highlighted in white to illustrate the desired overlap. (Third photo)
- At the next corner, stop and finish your stitch ⅜’’ (10mm) from the end of the fabric, and cut the grosgrain again like you did the previous one.
- This time, fold the grosgrain over the corner and tuck it under itself. Note: the grosgrain edges are highlighted in white to illustrate the desired overlap. (Fourth photo)
- Continue until you reach the end of the grosgrain.


Locking your corners
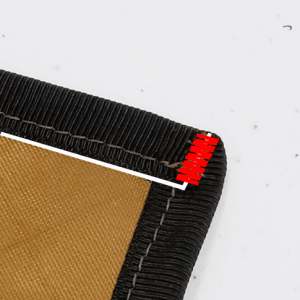
- Set your machine for about a 4mm wide Bar Tack. Then go to each corner and bar tack over the open edges of your grosgrain.
Note: Make sure to position your Bar Tack so that the stitch completely covers the open edge, sealing it and locking the corners down. (Grosgrain edges shown in white.)
Binding your seams with a home sewing machine takes a bit of care and selection of the right method. But with good choices, you can achieve excellent results. Try one or more of these methods on your next MYOGAngler project!


Continue building your skills, or get started on a project!

Guides
Learn how to build zippers, bind seams, and more

Patterns
Find a FREE pattern for your first project.

DIY Projects
Find DIY inspiration here.
Don’t miss out!
Sign up to be notified when we release new content and patterns. We respect your info and won’t spam you. You can unsubscribe anytime.
